We wanted to share tools and tips for other teams, designers or otherwise, to address a few scenarios that have arisen due to the COVID-19 Pandemic.
We see a few things in our typical work week that needed to be optimized for remote situations:
- Remote working in general
- Collaborative moments at the whiteboard
- Conducting workshops given our new distributed reality
Here you’ll find the outcome of some research, tips, techniques and a bit of our perspective as consultants who like to get stuff done!
Given the current situation with the coronavirus, our typically highly collaborative work and process has been upended. I’d suspect you are in the same boat. I think most folks are feeling some level of impact, and especially in the Bay Area, we’re exploring ways to maximize productivity while dealing with this new reality, however long it lasts.
We very quickly realized we’d need to adjust and adapt to the events and encouraged an expanded WFH policy for people, before we completely closed our office to support #flattenthecurve and our healthcare system’s ability to respond, and be with our families. But that doesn’t mean we are stopping or slowing down our work. Our clients still have goals to accomplish and interesting, challenging UX problems to solve. So we’re showing up the way we have always done, with a growth mindset.
We thought we’d share some of the lessons, tools and tips for working with our clients remotely so that others can benefit from the research and testing we’ve done on the topic.
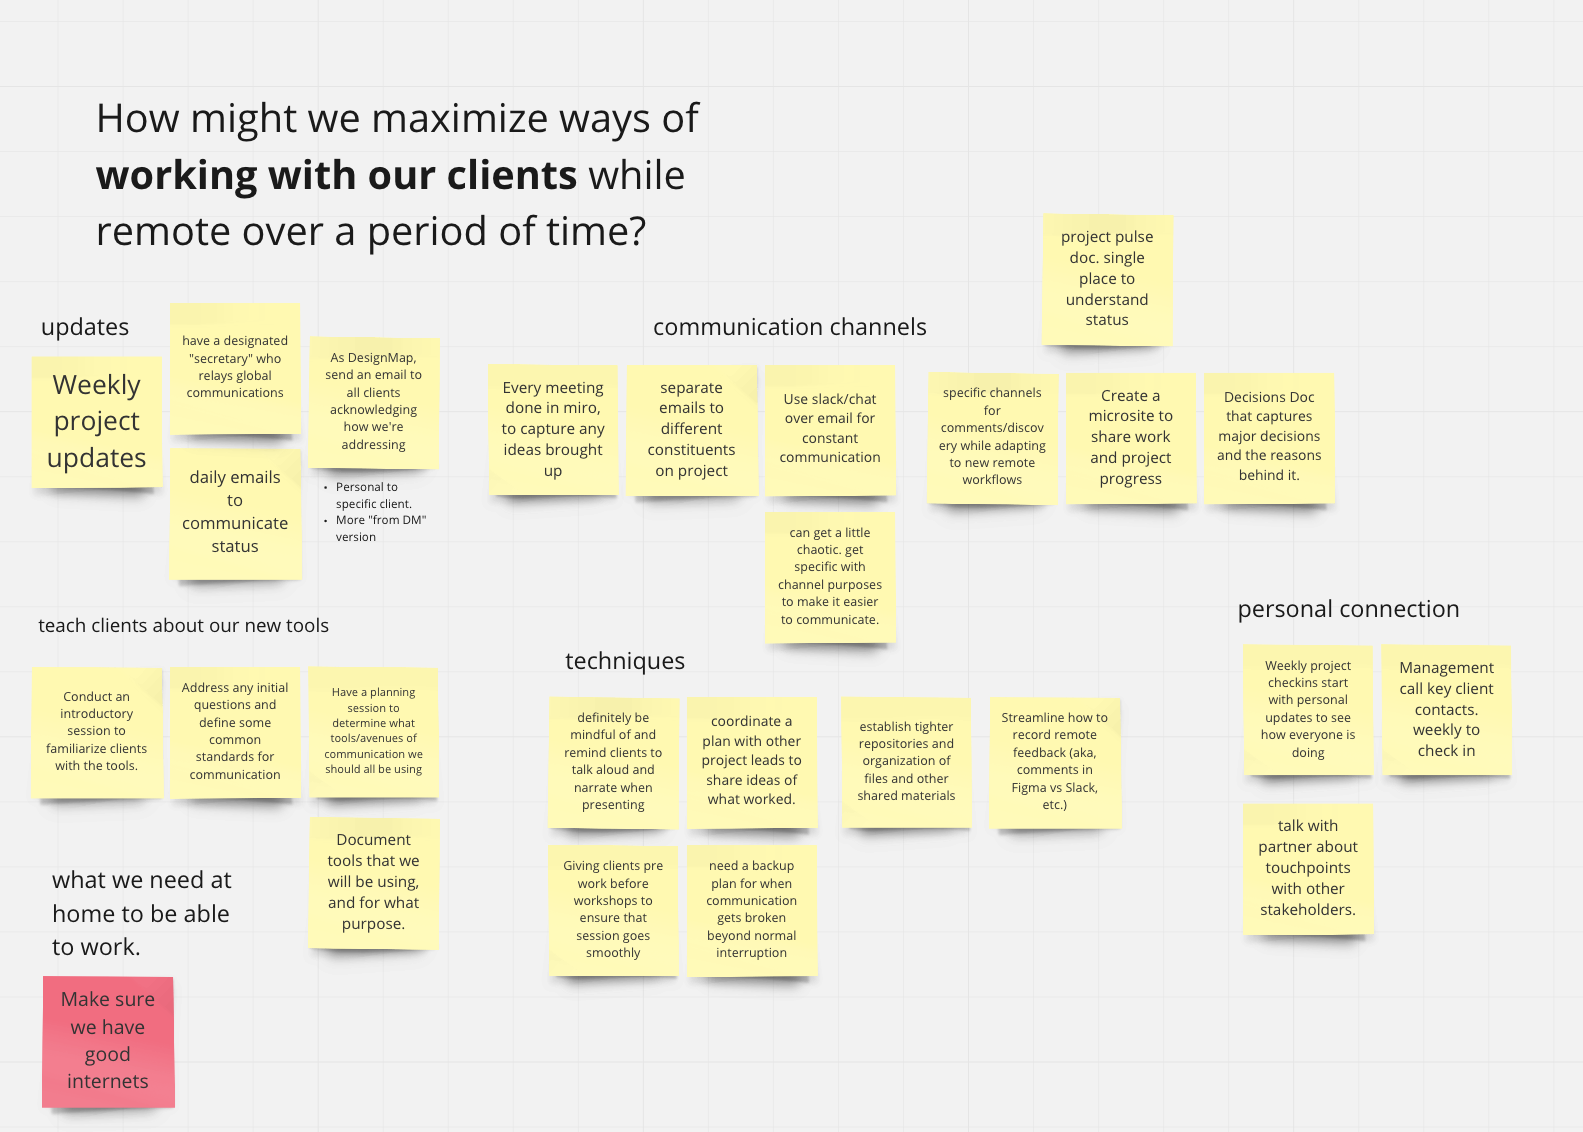
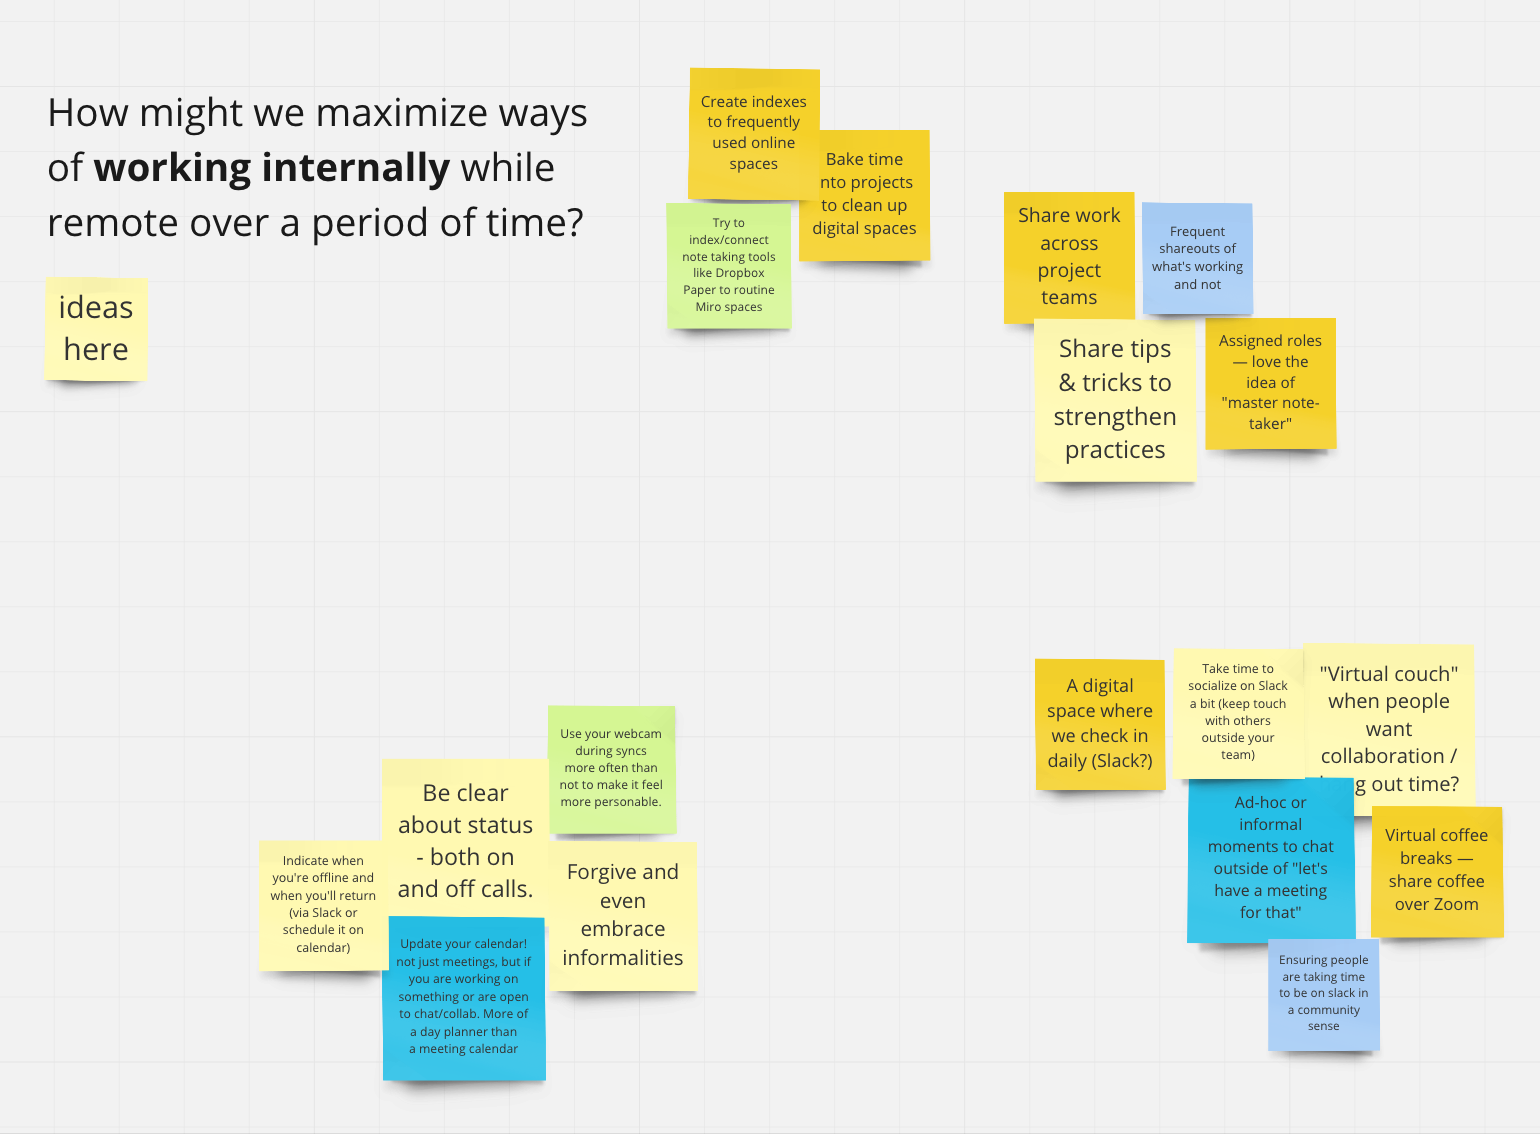
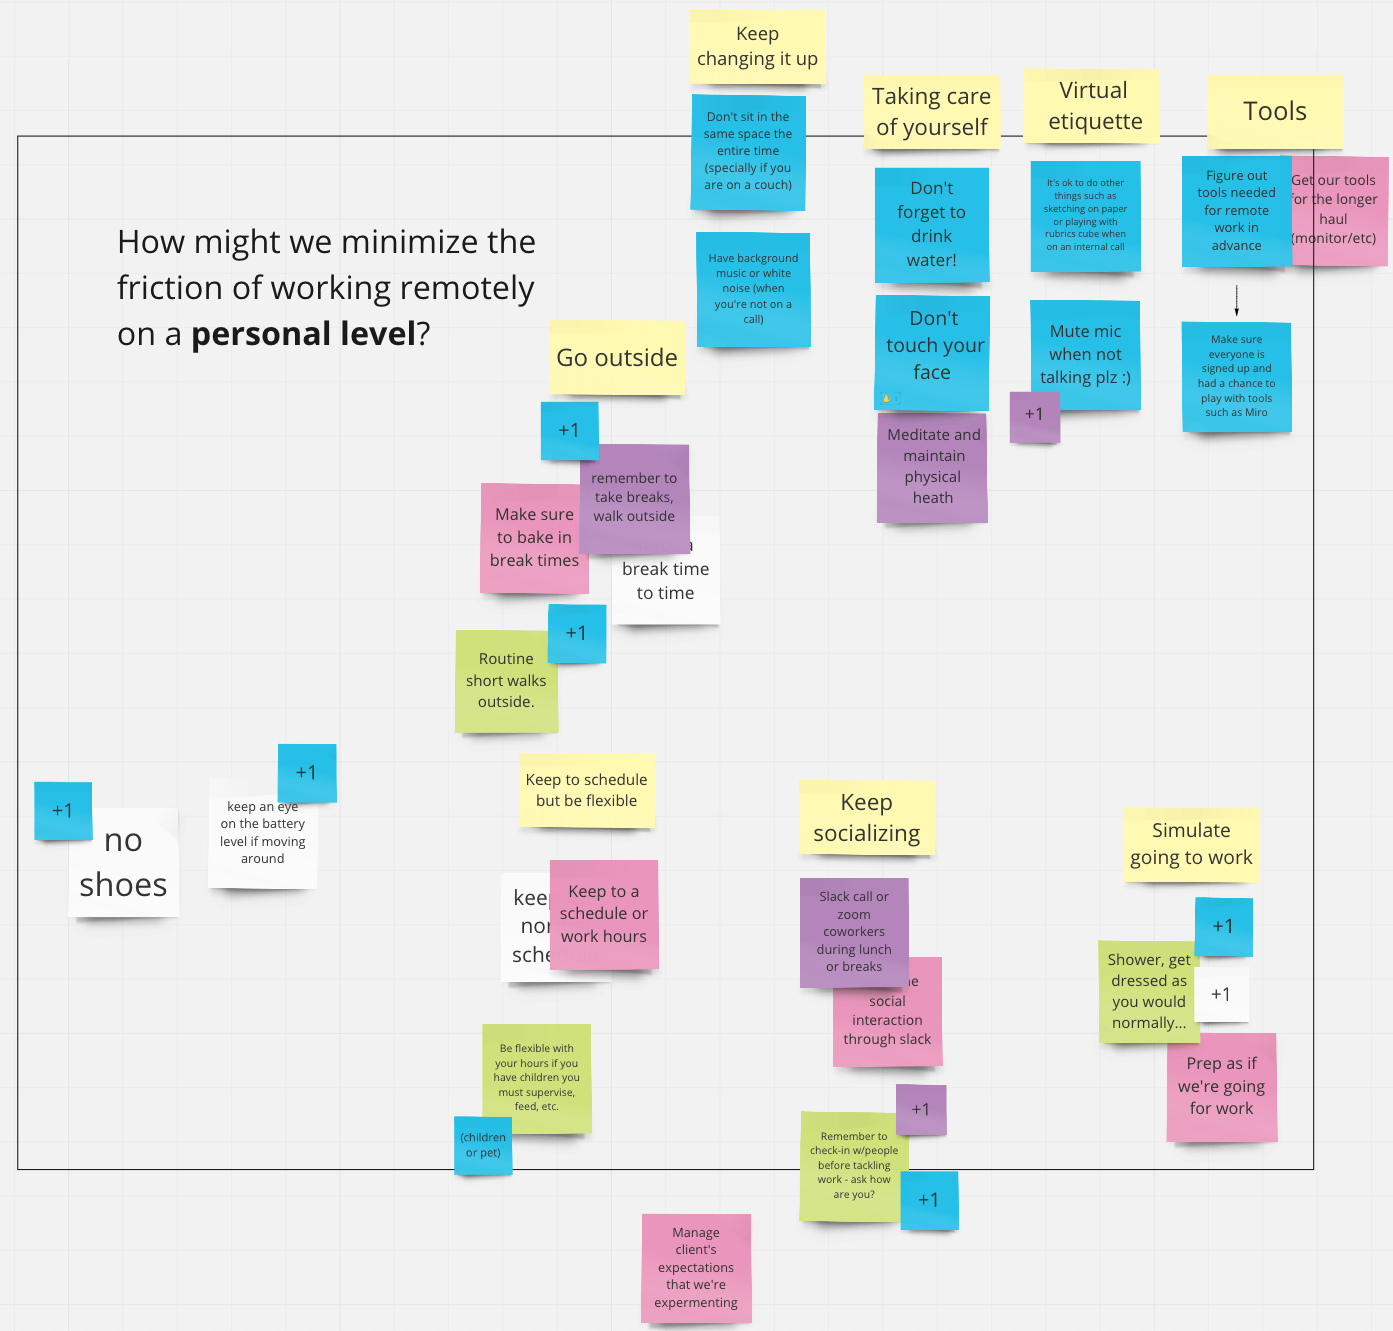
This past Monday, we shared the below tools and techniques with the rest of our studio and went through a brainstorming exercise. These are the results of ideas coming from each of 3 How Might We questions.
New Tools and New-to-us Features in Existing Tools
I’ll cover a few situations that sit outside the bounds of what designers often do day in and day out: sitting at a computer creating deliverables. For that, little has changed from a tool perspective, however you may suffer from less time face-to-face with product and engineering. It does require a conscious choice to more quickly reach out using your video call tool of choice. Sooner rather than later would be the MO at this point in our perspective. Besides, having a quick chat about how things are going with your team will boost morale a bit.
Here are a few of the other moments we have found some new tools super effective in facilitating. I guess this simplifies down to anytime you need to be up at a whiteboard or in a conference room with others.
Collaborative sketching
Our design teams spend many hours together at whiteboards drawing models, sketching UI ideas, project plans, etc. Building off of what another has drawn or discussing rough ideas, erasing, starting over and refining is a constant activity. We knew it would be critical to have everyone up and running on a single tool to ease communication and transparency for the whole company.
TOOLS
Miro
We reviewed a number of collaborative whiteboarding/sketching tools and landed on Miro because of its refined interface and easy to learn UI. Even non-designers can pick it up and be productive in a short period of time unlike a tool such as Figma. Each board in Miro has an infinite canvas and the ability to invite guests or provide day passes to workshop participants. We’ve also used Mural on a different project with success as well so I’d say that would have been our second choice if need be.
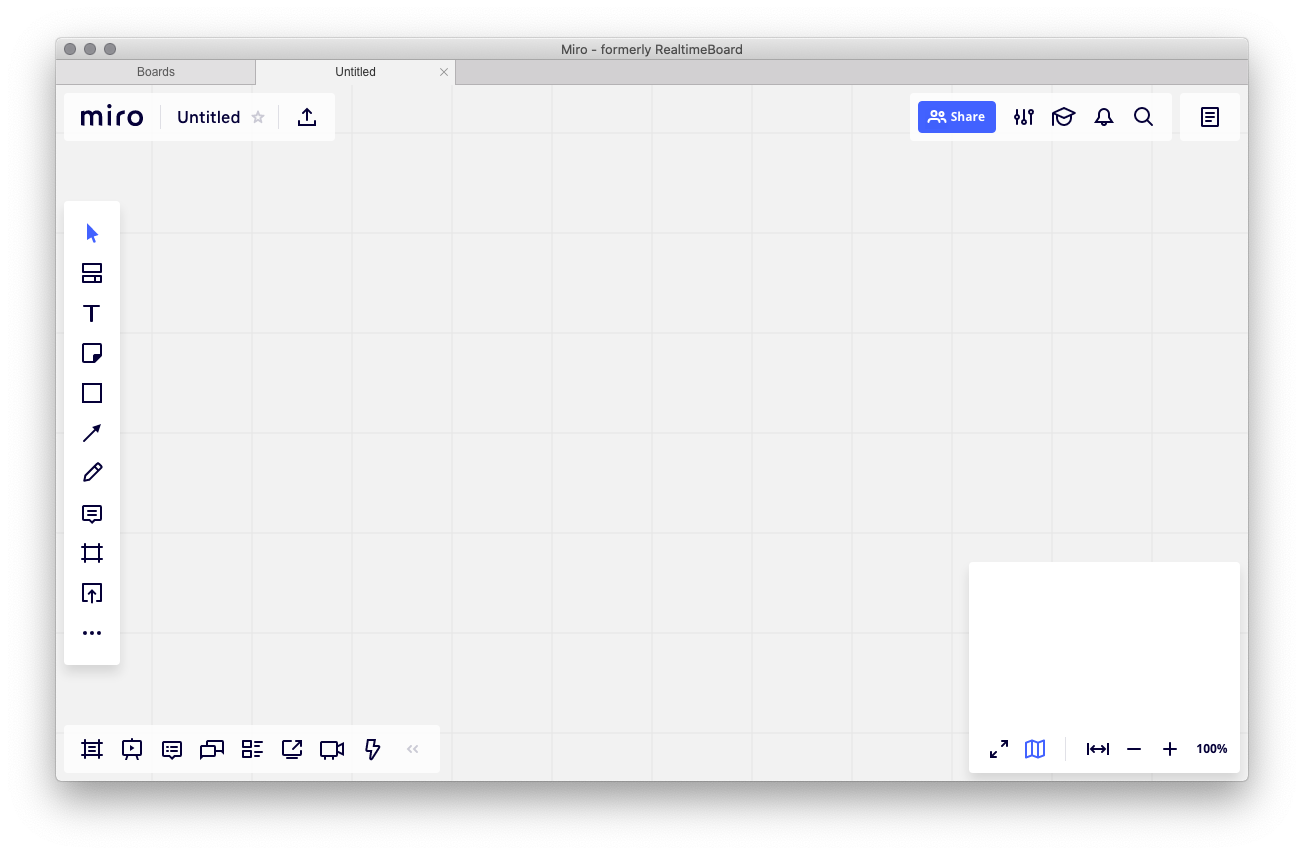
A blank Miro canvas ready for collaboration.
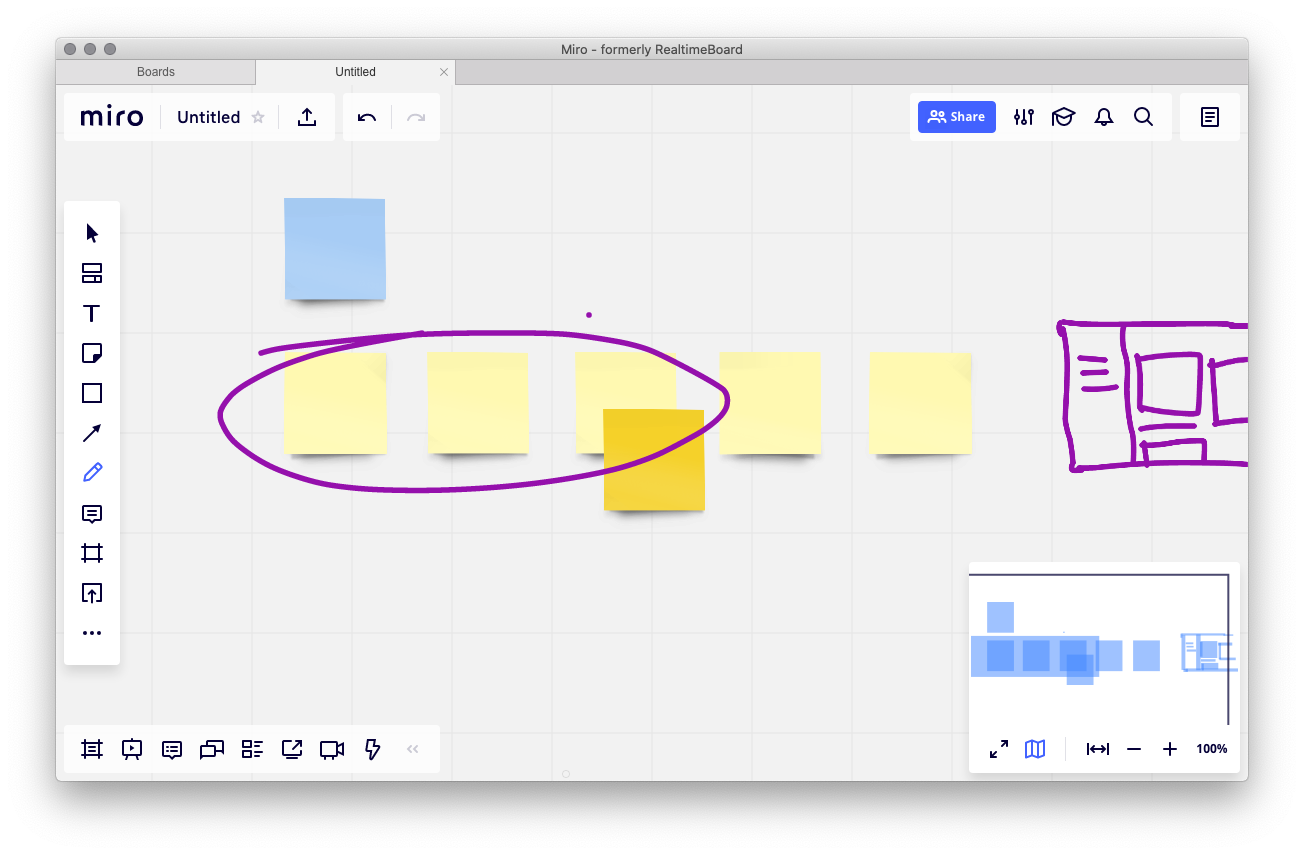
You can freeform sketch in Miro, and it provides many tools that mimic post-its, user flows, gantt charts and so on. Miro supports some handy shortcuts to speed your drawing too (turning your rough shapes into neater versions, etc).

Miro has a setting called Smart Drawing that speeds up your process.
Tablet + Stylus
This is optional since you can draw with a finger on a trackpad, however, if you are trying to reduce the friction of getting ideas out there and are going to be sketching frequently, it becomes more of a requirement.
The drawing tools in Miro are relatively simple but more than enough for what is needed. You might think of them as the digital equivalent of a whiteboard marker!
Using the natural feeling of holding a pen and drawing directly on a surface is definitely an improvement and frees your mind up that extra bit to focus on the ideas.
Pen, Paper and Microsoft Office Lens
Of course, if it’s ok that you are sketching solo and others don’t need to see it as you draw it, using pen and paper removes the hassle of learning new tools. One great addition is a scanning app that makes it really simple to digitize those drawings in a way that can be shared.
Several folks here have had good luck with Microsoft’s Office Lens. It has features that make taking photos of paper hassle free to reduce the time to get those in a presentation or deck.
Conducting Workshops
It’s easy to dismiss the idea that a workshop could even happen given the circumstances, at least here in Northern California. However, we’ve conducted several remote workshops in just the last week. This also isn’t an entirely new realm for us as we’ve successfully run collaborative workshops with dispersed teams. However, there are a couple of refinements and enhancements we’ve made recently to make these even more effective.
Setting the stage
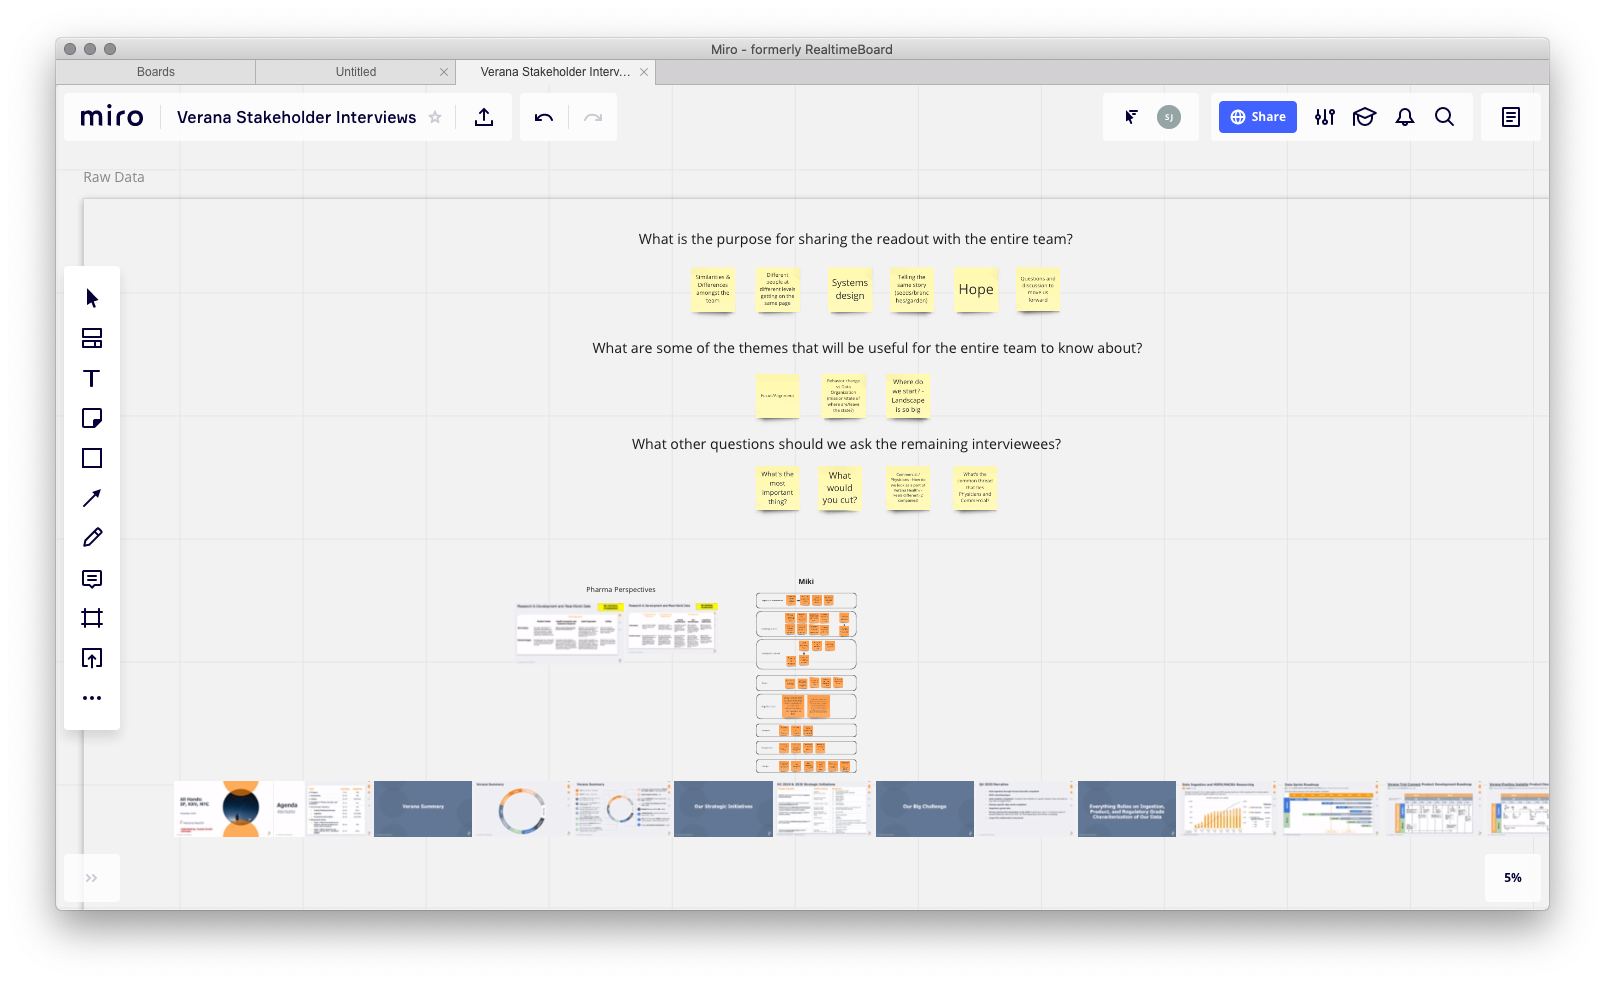
All of the things I’ve said about Miro above apply here. However when conducting a workshop remotely, it’s crucial to set the stage clearly for the attendees. We’ve found that starting by zooming out on the collaboration document and having some large text that describes the context and steps for the time period of each step of the workshop is incredibly valuable in mimicking the experience of being in a conference room together. Also make no assumptions about what people know, are expecting or thinking. Send an email out to the team with expectations and what they will need to participate fully. Do a trial run with your team to make sure the timing is feasible. Be less optimistic about how long each step will take, at least for the first one. Transitioning from activity to activity always takes time, and now even more so.
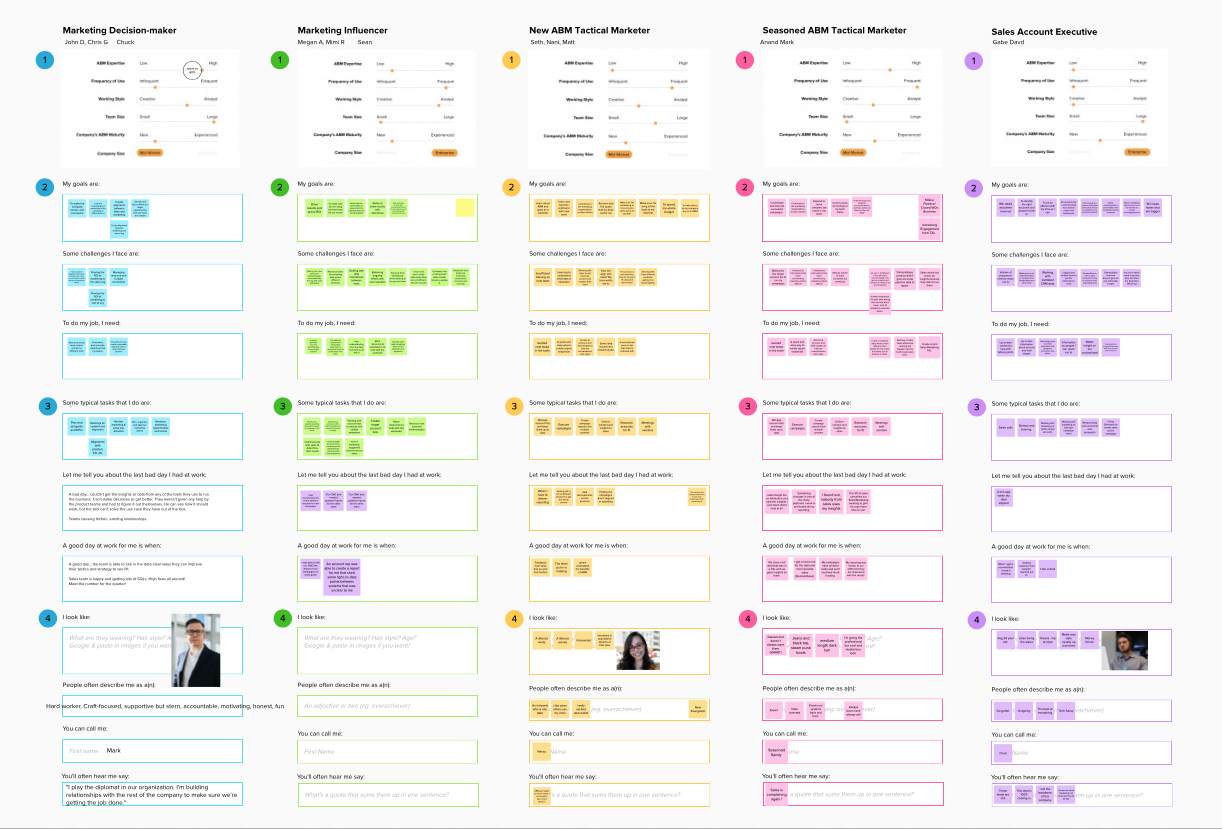
Conducting a persona synthesis workshop with about 15 people is possible. We split up into groups to flesh out 5 personas. We prepped ahead of time by assigning people to listen to specific interviews and then used Zoom Breakout Rooms to split up and detail them out.
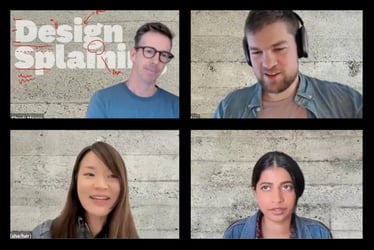
During a meeting with many attendees brainstorming solutions that this article aims to share.
Also assigning roles can sometime happen organically when you are in a room together, even non-verbally you can nudge someone to begin taking notes or drawing on the whiteboard. But trying to do that remotely will be a distraction you don’t want. Be sure to practice and define the various roles for the session beforehand. That way, things don’t fall through the cracks and you can focus on running a productive workshop.
Breakout Rooms
Like many, Zoom is our conference call product of choice and in our research we discovered a feature called Breakout Rooms. It allows you to split up the attendees into their own conversation with all of the features that Zoom provides already like screen sharing, etc.
You simply create rooms, assign people to each room and send them off. As the owner of the meeting you can then call people back to the main room once you want to regroup. Know that it takes a few seconds to go from room to room, and you will not have any visibility into the individual groups. You can message the breakout rooms, or drop in yourself to see how they are progressing. This can be time consuming to travel throughout. Depending on your situation, if you can have one of your team members guiding the group along with similar instructions, it can smooth out the entire experience.
You do need to set up Breakout rooms prior to scheduling the meeting. Just go to your account on the zoom website, select Settings, then scroll down to the “In Meeting (Advanced)” section and toggle it on.
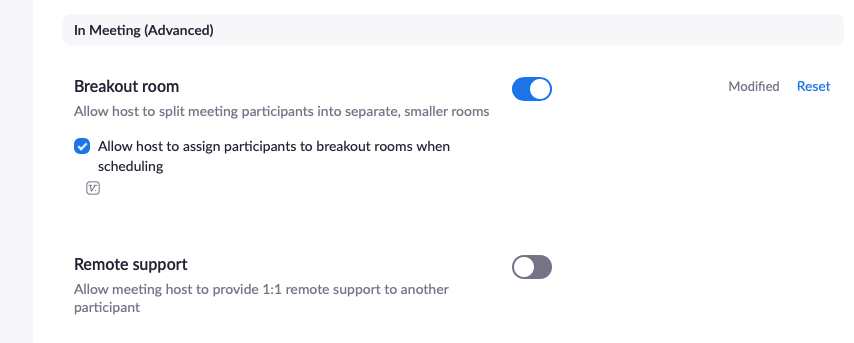
You'll need to set up the Breakout Rooms feature before starting the meeting. Go to the website and log into your account. Visit Settings and then scroll way down to "In Meeting (Advanced)" and you'll find it there.
Broader Team Communication
Communication is at the heart of the work we do. I’ve often described everything we do as designers as entirely means of communication. In person will always be best for this, but even at the best of times, it’s hard to get in front of some stakeholders as frequently as you’d like. Of course, we create decks to share with core and extended project teams. We print out posters and put them up in our client’s offices. We hang partially finished models and surround them with post-its and markers so our clients can add their thoughts in person.
So how do we accomplish this in today’s world? Beyond the tools we’ve previously described that create digital versions of what we described above, we’ve recently begun another practice.
We are now creating project microsites to widen the distribution of information and present content in an engaging way. This may sound unattainable, and not too long ago it would mean using complex tools and taking lots of time to build a website that should be changed on a weekly basis, generating more work. However now both InVision and Figma allow you to create a prototype and share a link. Repurposing the concept of a “prototype” to act as a microsite allows you to easily create an internal website that can share all types of deliverables and information. Leveraging some free illustrations found online and iconography, plus a simple navigation model (possibly driven off of your project timeline?) gives you an ability to collect information that would live in a myriad of locations into a single, digestible form.
Know that people are understanding during this new, uncharted period of working in our industry. Making a mistake here and there won’t ruin a meeting, so be sure to laugh off those moments and own them. Use them as opportunities to learn and adapt.
I hope that the quick research we conducted to speed our team’s effectiveness is helpful to you as well. We’re going to be iterating and adding to our tool belt over time and will update this or share more information depending on how we adjust. Let us know what you think, and what you're doing to work together, apart!
Stay healthy and safe!